
Understanding the Durability of Thermally Modified Wood Siding
What Makes Thermally Modified Wood Durable?
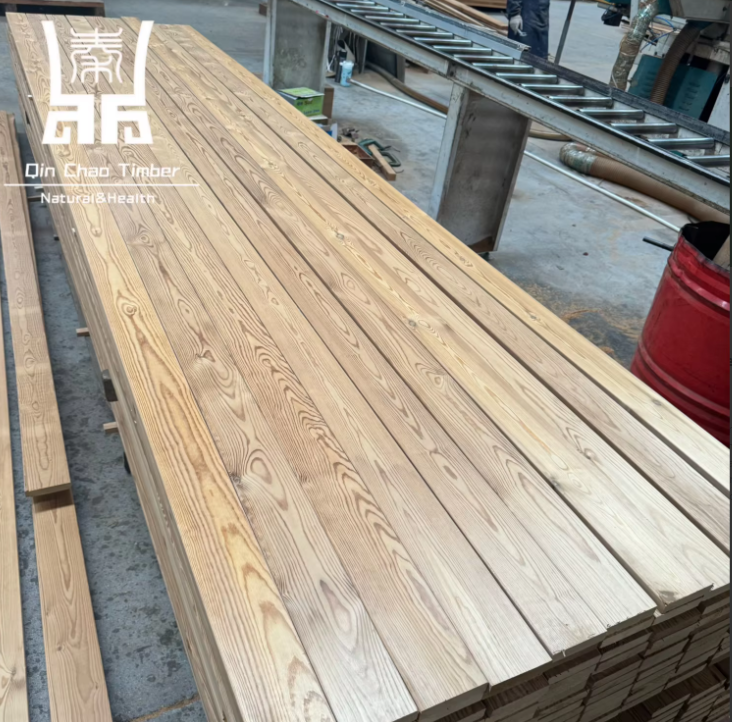
Wood siding that's been thermally modified gets its toughness from heating the wood without chemicals, which changes how the cells inside work. When they heat up regular lumber to around 400 degrees Fahrenheit or so in special kilns, something interesting happens. The moisture level inside the wood plummets below 6 percent, basically cutting off what fungi and bugs need to survive. What gets broken down during this treatment is called hemicellulose, which tends to rot easily. At the same time, the wood becomes much more stable in size. So after all this, we end up with a product that won't warp or crack as much, and stands up against rotting organisms pretty well. This makes it great for places where humidity runs high or where termites might be a problem, like coastal areas or southern climates where dampness is always an issue.
Factors Influencing the Longevity of Thermally Modified Wood Siding
Three primary factors determine lifespan:
- Installation quality: Gaps for airflow and proper fastening prevent moisture traps.
- Environmental exposure: Coastal areas with salt spray or extreme UV zones may accelerate surface weathering.
- Maintenance frequency: Although low-maintenance, annual inspections and debris removal prolong performance.
Thermally modified siding resists shrinking and swelling by up to 50% in fluctuating humidity compared to untreated wood, enhancing its performance in dynamic climates.
Expected Lifespan and Performance in Different Climates
When properly maintained, thermally modified wood siding lasts 25–40 years—double the lifespan of untreated softwoods. Performance varies by climate:
| Climate Type | Key Consideration | Lifespan Range |
|---|---|---|
| Temperate | Minimal degradation | 35–40 years |
| Humid/Tropical | Increased fungal resistance needed | 25–30 years |
| Arid | UV protection recommended | 30–35 years |
In snow-prone regions, its low moisture absorption prevents ice damage, and its thermal stability outperforms vinyl and fiber cement in freeze-thaw cycles.
Routine Cleaning and Surface Care for Thermally Modified Wood Siding
Best Practices for Cleaning Thermally Modified Wood Siding
Keeping thermally modified wood siding looking good requires some regular maintenance work. Start by grabbing a soft bristle brush and mixing up a solution of mild detergent with warm water. Scrubbing along the wood grain helps get rid of all sorts of buildup like dirt, pollen stuff from plants, and those stubborn mildew spots. After cleaning, give it a good rinse using a garden hose set to low pressure. Don't go crazy with power washers though since they tend to wear down the surface pretty quickly after repeated use. Make sure everything dries out fully before thinking about putting on any kind of protective finish. Rushing this part could lead to problems later on when moisture gets trapped underneath whatever coating we apply.
Recommended Cleaning Frequency and Tools
Clean twice annually—typically in spring and fall—to prevent organic buildup. Essential tools include microfiber cloths for spot cleaning, extendable soft-bristle brushes for elevated areas, and non-abrasive, wood-safe cleaning solutions. For persistent stains, use oxygen-based bleaches instead of chlorine products, which can degrade lignin and compromise wood integrity.
Protective Finishes: Staining and Sealing Thermally Modified Wood Siding
When and Why to Apply Stain and Sealant
While thermally modified wood naturally resists decay, protective finishes enhance defense against environmental stressors. Apply stain or sealant:
- After installation: Protect uncoated wood within 3–6 months to prevent UV-induced graying
- Before seasonal extremes: Refresh finishes in spring or fall to guard against summer UV rays or winter moisture
- After cleaning: Ensure surfaces are clean and dry for optimal adhesion
Finishes help restore rich tones and reduce cracking by 60% in climates with significant humidity swings (Forest Products Lab, 2023).
Choosing the Right Finish for UV and Moisture Resistance
In high-sun regions, oil-based finishes block 95% of UV radiation—outperforming water-based options that block 70–80%. In rainy or coastal areas, select sealants containing:
| Feature | Benefit | Ideal Concentration |
|---|---|---|
| Alkyd resins | Form moisture-repelling barriers | 25–35% |
| Iron oxide pigments | Stabilize color under UV exposure | 15–20% |
| Silicone additives | Reduce water absorption by 50% | 5–10% |
Avoid film-forming finishes, as they can trap moisture in the wood’s open grain structure.
Step-by-Step Application Process for Long-Lasting Protection
- Surface prep: Lightly sand with 80–100 grit paper to open pores
- Cleaning: Remove dust with a soft-bristle brush or low-pressure air (<30 PSI)
-
Application:
- Use natural-bristle brushes for oil-based products
- Apply thin, even coats along the grain
- Maintain 40–60% humidity during drying
- Curing: Allow 48–72 hours between coats; two coats typically provide 7–10 years of protection
Reapply when water no longer beads on the surface—indicating diminished hydrophobic properties.
Preventative Maintenance and Environmental Protection
Moisture Management and Proper Drainage Solutions
Thermally treated wood stands up better against rot, but keeping moisture under control is still key to making it last longer. Gutters should direct water flow at least three feet back from building foundations, while grading the yard helps prevent standing water issues. Studies indicate good drainage systems can cut down on moisture uptake by roughly 40% over regular setups. Don't install sprinklers that blast water straight onto exterior walls either. And remember to check those caulked areas around window frames and door thresholds every six months or so for cracks or gaps where water might sneak in.
Maintaining Dimensional Stability in Fluctuating Weather
Thermal modification does help reduce sensitivity to humidity, but we still see some expansion and contraction through the seasons. That's why leaving about a quarter inch space between each board when installing siding makes all the difference in preventing those unsightly warp marks down the road. For homes near the coast or in really damp areas, applying some good quality UV resistant sealant works wonders against wood swelling caused by salty ocean breezes. Just remember not to go crazy with pressure washing especially using hot water streams since sudden temperature changes put real stress on those specially treated fibers over time.
Inspection, Repair, and Adherence to Manufacturer Guidelines
Conducting Regular Inspections for Early Damage Detection
Check thermally treated wood siding every three months so problems don't go unnoticed for too long. Pay special attention to where the boards meet each other since these spots tend to hold onto moisture longer. Look out for mold growing in those shady corners around the house too. The parts getting full sun will show color loss first, so keep an eye on those sections. When testing for dampness, grab a good quality moisture meter that measures within about 3% either way. Test right next to screws and nails, then compare what shows up on the screen against what the maker says is normal (usually between 12 and 15%). Taking pictures regularly helps spot patterns as things change over seasons. Sometimes small cracks appear gradually, and catching them early makes all the difference down the road.
Repairing Minor Damage and Preventing Further Degradation
Hairline cracks wider than about 1mm should be filled with exterior grade epoxy to stop them from getting worse over time. Any boards that have warped noticeably, especially those curving more than roughly 5%, need replacing before dampness starts spreading to nearby areas. When dealing with mold on surfaces, go for oxygen based cleaners instead of regular chlorine bleach. Chlorine actually breaks down the wood faster at a molecular level. Safety gear is a must during all repair work since gloves and masks help keep dirt and oils off the wood grain where they could cause problems later on.
Following Manufacturer’s Recommendations for Optimal Maintenance
Different woods need different treatment approaches. Take modified ash versus thermally treated pine as just one example where care requirements diverge significantly. Most experts recommend waiting somewhere between two and three months after installation before applying any sealant. This gives those pesky residual chemicals time to work their way out naturally. Keep at least a foot of space between the wood surface and surrounding soil while ensuring proper air circulation around all sides according to what's specified in the installation guide. Thermal buckling can be prevented this way. When it comes to protecting against UV damage, stick strictly to products approved by the manufacturer. Look specifically for formulas with zinc nanoparticles sized between 30 to 50 nanometers. These provide excellent protection while maintaining the original look of the wood grain.
Table of Contents
- Understanding the Durability of Thermally Modified Wood Siding
- Routine Cleaning and Surface Care for Thermally Modified Wood Siding
- Protective Finishes: Staining and Sealing Thermally Modified Wood Siding
- Preventative Maintenance and Environmental Protection
- Inspection, Repair, and Adherence to Manufacturer Guidelines
 REQUEST AN ESTIMATE
 Products